 English

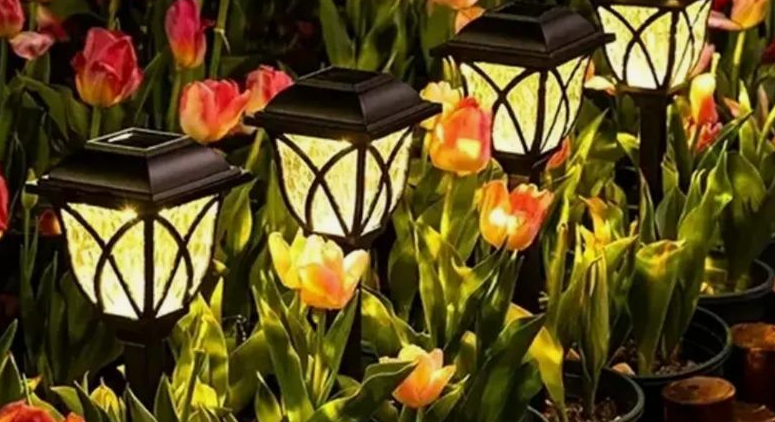
Garden lights not only add beautiful nighttime scenery to your garden but also enhance home security and create a warm and romantic atmosphere. Whether illuminating flower beds, pathways, or creating a pleasant ambiance in your yard, garden lights are an essential element. This article will guide you through the process of installing garden lights and answer some common questions to help you successfully install and use your garden lights.
1. Preparation for Installing Garden Lights
Before you begin installing garden lights, you need to do some preparation:
(1) Determine the Installation Location
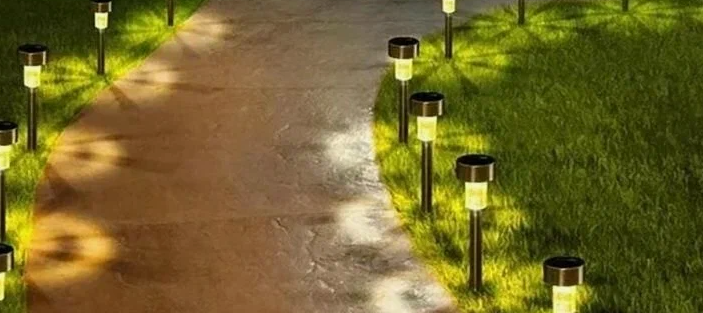
Lighting needs: Based on your garden layout and functional needs (such as illuminating pathways, flower beds, ponds, etc.), determine the installation location of each light.
Power source location: Confirm whether there is a power access point, or choose solar-powered garden lights (no power connection required, suitable for areas without power outlets).
Aesthetics and safety: The lighting should be evenly distributed, avoid direct glare, and ensure that it does not obstruct plants or impede movement.
(2) Choose the Right Garden Lights
Battery-powered: Suitable for small gardens or areas without power outlets, easy to maintain, and suitable for temporary use.
Solar-powered garden lights: No power connection required, suitable for energy-saving and environmentally friendly homes, but require sufficient sunlight to keep the battery charged.
Electric-powered: Suitable for large gardens or areas requiring higher brightness, providing continuous and stable power, but requires a power connection and some wiring.
(3) Required Tools and Materials
Power tools (such as electric drill, screwdriver)
Cable (if using electric-powered garden lights)
Batteries (if choosing battery-powered lights)
Solar panel (if using solar lights)
Cable connectors, junction boxes, power outlets (for electric-powered garden lights)
2. Garden Light Installation Steps
(1) Prepare the Power Lines
If you choose electric-powered garden lights, you first need to confirm the power line connection method. For gardens without power outlets, you may need to run power from indoors.
Use an electric drill to drill holes in the wall or ground and install cable conduits or junction boxes.
Ensure the cable is long enough to extend from the power outlet to the location of each light fixture.
Use junction boxes to ensure secure and safe connections, avoiding exposed wires.
(2) Installing the Light Fixture Bracket
Garden lights usually come with brackets or bases. You need to choose the appropriate installation method based on the type of light fixture. For ground-insertable lights, simply insert them into the soil; for fixed lights, you may need to drill holes in the ground or use ground brackets.
Ground-insertable lights: Directly insert the light fixture's bracket into the soil, ensuring the light is stable and does not tilt easily.
Fixed lights: Secure the light fixture base to the pre-drilled holes with screws, ensuring it is firmly fixed.
(3) Wiring and Power Connection
After the light fixture bracket is installed, the next steps are wiring and power connection:
Electric-powered lights: Connect the cable to the power outlet or wiring connection point, and ensure the cable is correctly connected to the power terminal of the light fixture.
Solar garden lights: If it's a solar light, place the solar panel in a sunny location, ensuring the panel can absorb sunlight to the maximum extent. Then, connect the light fixture to the solar panel, usually by simply plugging in the connector.
Checking battery-powered lights: After installing the batteries, ensure the battery compartment of the light fixture is properly closed and confirm that the light fixture is working correctly.
(4) Testing the Lights
After installation, turn on the power and test each light to ensure it is working properly. Check that the light is even, the brightness meets expectations, and that there are no exposed or loose cables.
(5) Adjustment and Beautification
Adjust the position of the light fixtures as needed to better match the overall aesthetic design of the garden. Adjust the angle of the lights to illuminate the desired areas and avoid direct glare.
3. Frequently Asked Questions
Q1. How to avoid electric shock during garden light installation?
When installing electric-powered garden lights, be sure to turn off the power first to avoid electric shock. If you are unsure how to handle the power lines, it is recommended to seek assistance from an electrician.
Q2. How much sunlight do solar garden lights need to charge?
Solar garden lights need at least 4 hours of sunlight per day to charge and function properly. Ensure the solar panel is not obstructed and receives sufficient sunlight every day.
Q3. How to maintain garden lights?
Cleaning: Regularly clean the surface of the light fixtures to prevent dust, leaves, and other objects from blocking the light and affecting the lighting effect. Check the battery and power supply: For battery-powered and solar-powered lights, regularly replace the batteries or check the charging status of the solar panels to ensure efficient operation.
Waterproof check: For garden lights used outdoors, check if the lights are waterproof to prevent rainwater from entering the circuit and causing short circuits.
Q4. How to solve the problem of flickering or non-working garden lights?
Check if the battery or power supply is working properly and ensure that the battery has sufficient power.
Check if the wire connections are loose and ensure good contact.
For solar lights, ensure that the solar panel is not obstructed or dirty.
Q5. How to choose the appropriate brightness for garden lights?
Choose the appropriate brightness based on the size of the garden and lighting needs. If only decorative lighting is needed, low-brightness garden lights are sufficient. If you need to illuminate paths or patio areas, choose high-brightness lights.
Installing garden lights can not only enhance the beauty of your garden but also improve home security. By following the correct installation steps, choosing the right lights, and performing regular maintenance, your garden lights will provide you with years of lighting service.
