 English
Many customers ask this question before purchasing LED outdoor wall lights: "Is this light difficult to install? Can I install it myself?"
Actually, the installation of most LED outdoor wall lights is not complicated. As long as you follow the steps, even a beginner can handle it. However, the prerequisites are: choosing the right light type, preparing the necessary tools, and strictly adhering to safety regulations.
Below, we'll address the most pressing questions from users to help you fully understand the installation difficulty, specific steps, and easily overlooked details of LED outdoor wall lights.
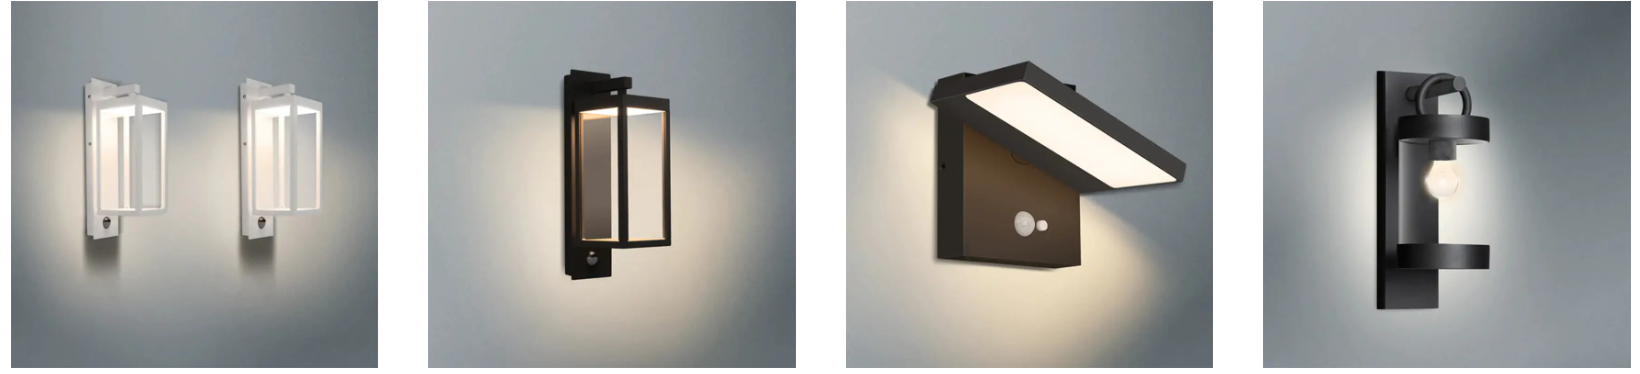
1. Is LED Outdoor Wall Light Installation Difficult?
From a practical standpoint, LED outdoor wall lights are considered a product with moderate installation difficulty.
If you meet the following conditions, you can generally complete the installation yourself:
The wall already has pre-installed wiring
You are using a standard 220V power supply
The installation height does not exceed 3 meters
You have basic tools and hands-on skills
If the following situations are involved, it is recommended to hire a professional electrician:
Rewiring is required
Installation on a high-altitude exterior wall
Commercial projects
High-power outdoor lighting systems
Safety is always the top priority.
2. What should a beginner prepare before installation?
Good preparation will make the installation process much easier.
(1) Common tools
Generally needed:
Electric drill
Phillips screwdriver
Insulating tape
Test pen
Expansion screws
Level. Most households can find these tools.
(2) Confirm lamp parameters
Before installation, be sure to check:
Working voltage (110V or 220V)
Waterproof rating (IP65 or higher recommended)
Installation method (wall-mounted/recessed)
To avoid buying the wrong model and having to rework.
(3) Choose a suitable installation location
A suitable location can improve the lighting effect and lifespan:
Recommended installation height: 2 to 3 meters
Avoid areas directly exposed to heavy rain
Away from corners prone to water accumulation
3. Standard installation process for LED outdoor wall lights
Most wall light installation steps are similar, the process is as follows:
Step 1: Turn off the power
This is the most crucial step.
Before installation, be sure to disconnect the main power supply to avoid the risk of electric shock.
Step 2: Secure the Base
Attach the lamp base to the wall:
Adjust the position with a spirit level
Mark the drilling points
Drill holes using an electric drill
Install expansion screws to secure the base
Ensure the base is firm and does not wobble.
Step 3: Wiring
There are generally three wires:
Live wire (L)
Normal wire (N)
Ground wire (ground)
Connect according to the markings:
Wrap with insulating tape
Ensure the connectors are not exposed.
Step 4: Install the Lamp Body
Secure the lamp body to the installed base:
Align the slots
Tighten the screws
Adjust the beam direction.
Step 5: Power-On Test
After restoring power:
Check if the light illuminates normally
Check for flickering
Check for looseness or wobbling
Once everything is confirmed to be normal, installation is complete.
